One day, we’ll show off fits in real life again, even if it takes a little re-learning along the way. The Highsnobiety Summer Style Guide is here to help, ensuring that lightweight pieces still result in heavyweight looks.
Following our guides on how to clean, lace, and dye your sneakers, we're back with yet another step-by-step guide, this time explaining how to tie-dye like a pro. With summer almost here and tie-dye having made a real comeback in recent times, we’re here to prep your warm-weather wardrobe in DIY style.
While styling something as colorful as tie-dye isn't always as easy, the actual process of tie-dyeing is something everyone should be able to do at home. That’s why we've put together this quick and easy guide with instructions on how to tie-dye your T-shirts. We’ve outlined three different techniques — crumple, shibori, and spiral — so you can experiment with different tie-dye looks to your heart's content.
What you need to tie-dye your T-shirts
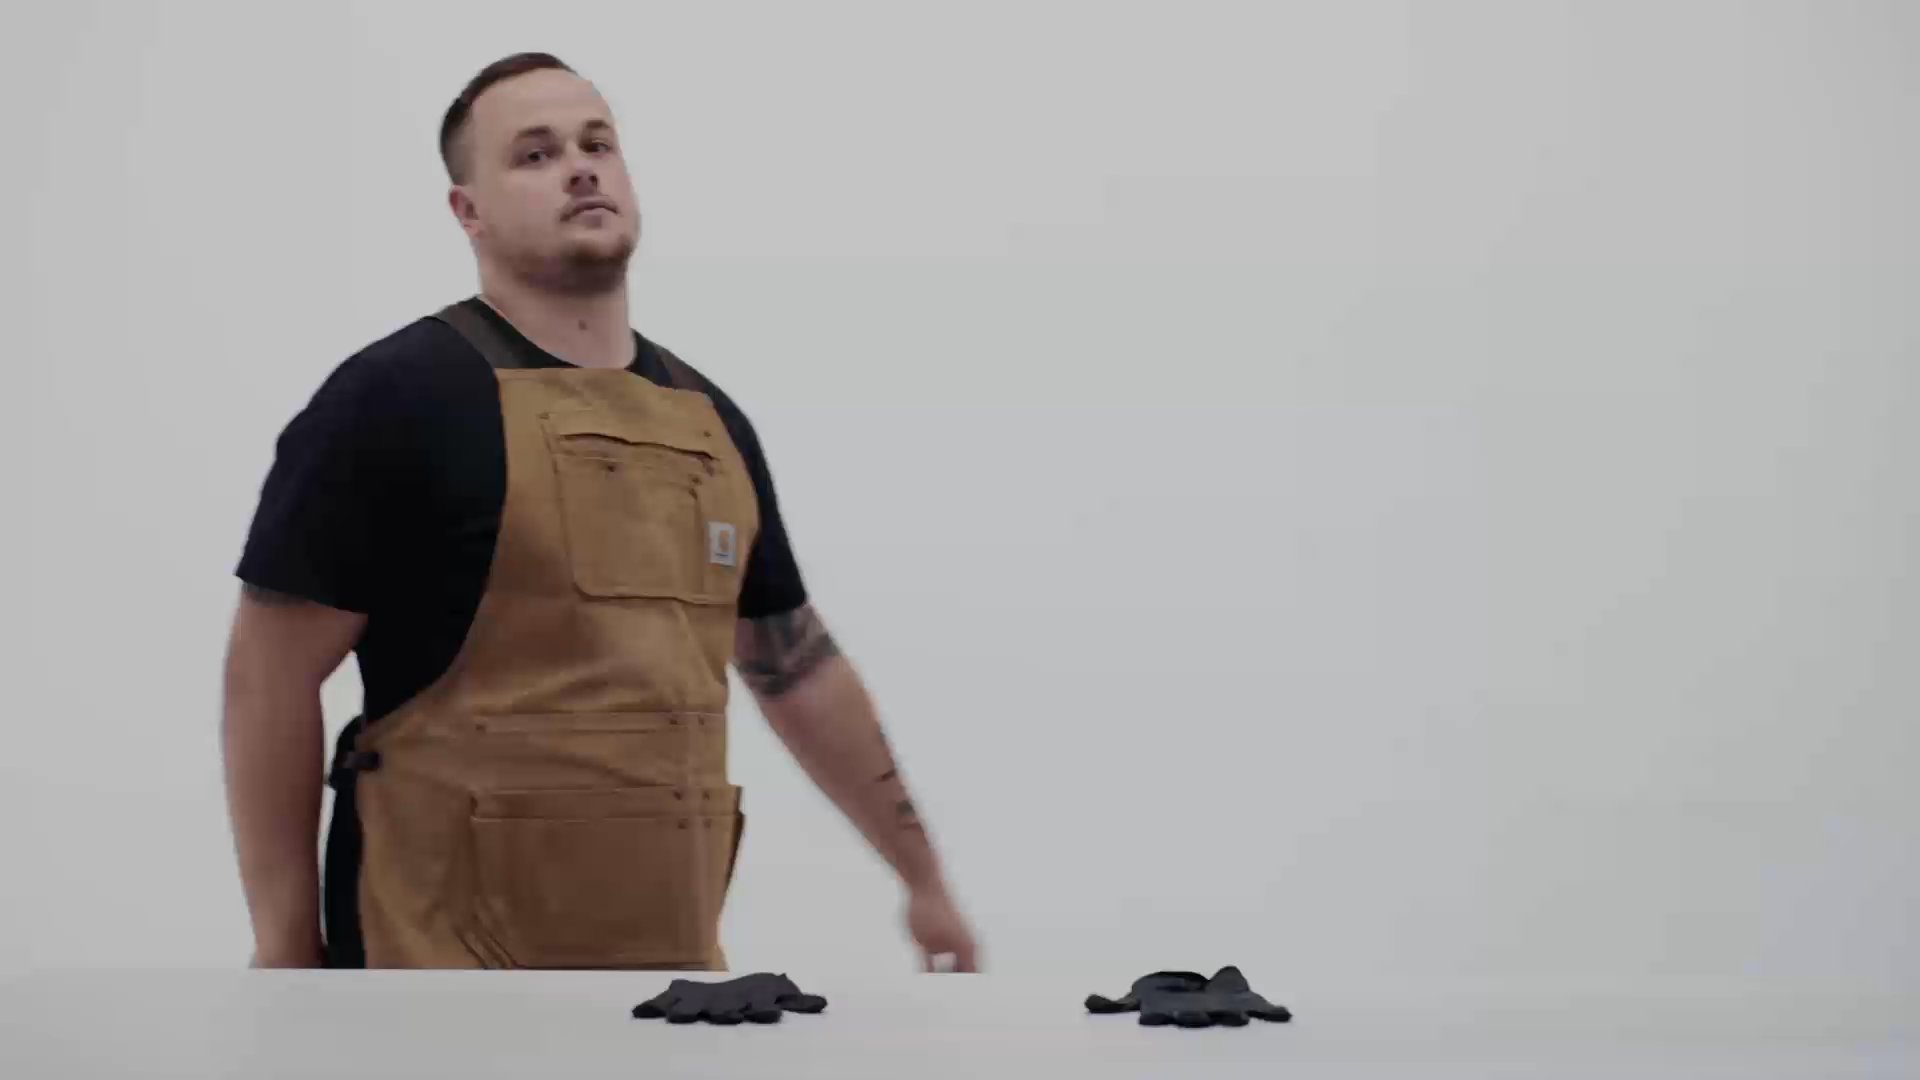
Protective gloves An apron or old clothes Fabric dye Plastic squeeze bottles Rubber bands Large ziplock bags A wooden dowel Dye fixative Salt or soda ash A container and hot water A tarp or plastic cover White T-shirts
Now, scroll on to see our step-by-step guide on how to tie-dye your tees.
Pre-dye
Step 1: Set up your station
First, make sure your T-shirts are clean. In fact, wash them even if they’re new — new shirts have a chemical that keeps the dye from taking properly. If you’re using a tarp or plastic cover to protect your work station, lay it out now.
Step 2: Prep your dye
Prepare your dye. Instructions will vary. We used a powder that you mix into hot water, which we then transferred into our plastic squeeze bottles. You don’t need to put the dye into squeeze bottles, but if you’re going to dye a T-shirt in multiple colors, it's the most accurate way.
Method 1: Crumple
Step 1: Prep your tee
Lay your T-shirt on a clean surface. Start crumpling the fabric with your fingers. Keep scrunching the tee until everything’s in a crumpled mound. Hold the shirt in place with rubber bands. The tighter you make it, the more patterns you’ll get.
Step 2: Dye your shirt
Apply the dye using the squeeze bottles. Don’t hold back — you can really soak the tee. If you’re using multiple colors, liberally apply the different dyes for a more vibrant, random final result. Flip the shirt over and repeat on the other side.
Step 3: Let it sit overnight
Once dyed, seal your T-shirt in a ziplock bag to keep it damp as the dye sets and let it sit for six to eight hours, or overnight.
Method 2: Shibori
Step 1: Prep your tee
Roll your T-shirt tightly around a non-absorbant tube. We used a paper roll, which honestly wasn’t the best but it worked. Tightly scrunch both ends of the rolled T-shirt toward the center. Secure both ends with rubber bands. You can also secure rubber bands along the entire tube.
Step 2: Dye your shirt
Apply dye to the fabric, rotating the tube as necessary.
Step 3: Let it sit overnight
Once dyed, seal the T-shirt in a ziplock bag and let it sit for six to eight hours, or overnight.
Method 3: Spiral
Step 1: Prep your tee
Lay your T-shirt flat and set the dowel in the center of where you want your spiral to be. You can also just pinch the center. Twist until the T-shirt is a spiral shape. Bind the tee tightly with three rubber bands, creating six wedge shapes.
Step 2: Dye your shirt
Apply your colors one by one to the wedge shapes. For the best result, make opposing wedges the same color. Now flip the spiraled fabric over and repeat on the back.
Step 3: Let it sit overnight
Once dyed, seal the T-shirt in a ziplock bag and let it sit for six to eight hours, or overnight.
Post-dye
Step 1: Prepare fixative
Once you’ve let your T-shirts sit for a while, prepare the dye fixative by mixing it with warm water. Ideally, you’ll want the water to be between 100° and 140° Fahrenheit.
Step 2: Soak your tees
Soak the T-shirts in the fixative. The exact time they’ll need to soak varies based on the type of fixative, so check the packaging.
Step 3: Rinse your shirts
After soaking the T-shirts, rinse them in cold water. You can use some light detergent if you want.
Step 4: Drying
Finally, leave the shirts to air dry. One important thing: wash your tie-dyed shirt on its own the first time you put it in the machine to avoid the dye bleeding onto your other clothes. _
For an in-depth guide, watch the full video below:
Want to keep browsing? Head to the Highsnobiety Shop for more products that we love. Highsnobiety has affiliate marketing partnerships, which means we may receive a commission from your purchase.