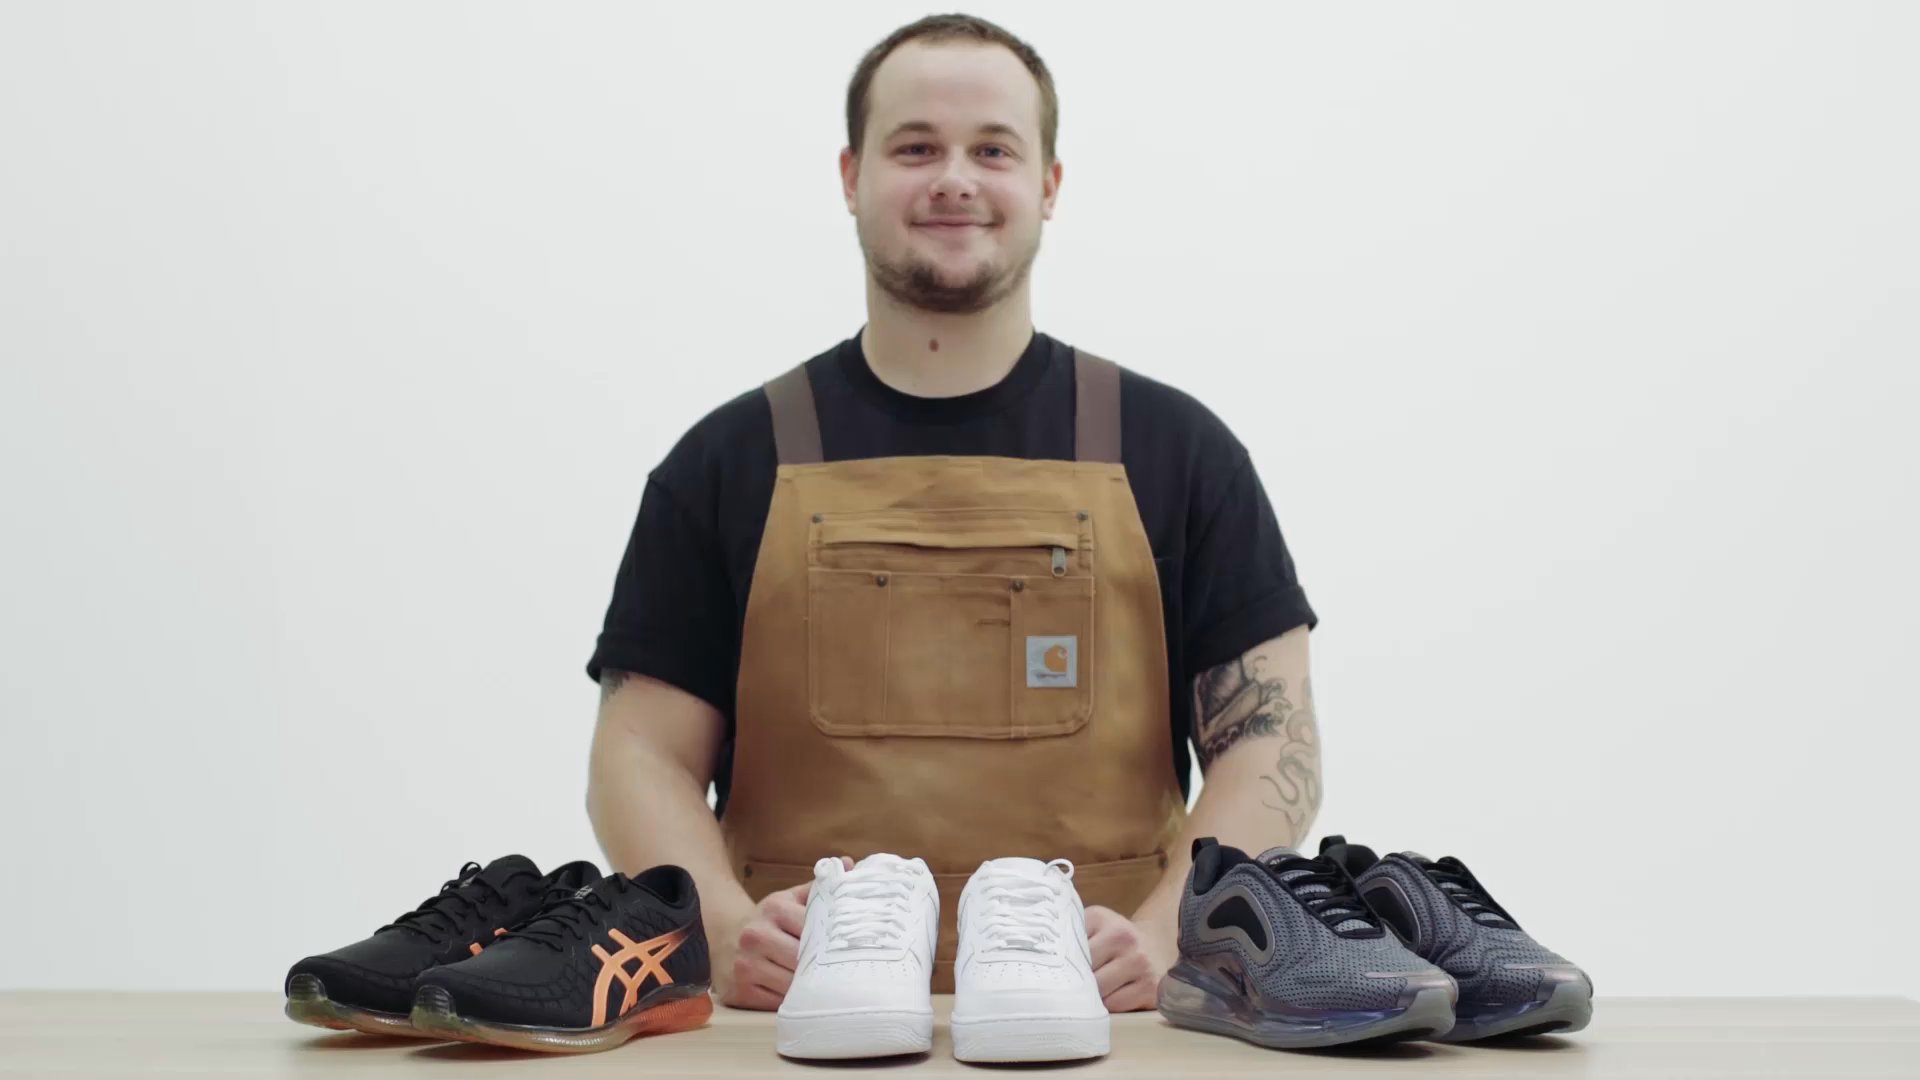
Think you've got the art of shoe-lacing down? Sure, it's a no-brainer if all you want is to keep your shoes on from point A to B. But here's the catch: lacing up isn't just a one-size-fits-all deal. What you're planning to do in those sneakers matters a lot. You wouldn't tie up a high-performance running shoe the same way you'd casually lace an athleisure sneaker, right?
So, let's dive into the world of lacing with a twist. We're breaking down three unique ways to lace your shoes, each with its own flair: one for that perfect shoe selfie, another for the ultimate comfort and slip-on ease, and, of course, one for the athletes out there. For each style, we've got the pros, the cons, and some handy pro tips to ensure you're lacing up like a pro, no matter the occasion.
What you need to lace your shoes:
Your sneakers Your laces Your hands
(Kind of obvious, really.)
Now, scroll on to see our step-by-step guide on how to lace shoes the right way in 2024.
Method 1: Aesthetic
Step 1: Start from scratch
Looking to learn how to lace Air Force 1s? You are luck, we are going to start with those in our first example.
Step 2: Lace up the first two eyelets
Put your laces through the first two eyelets, making sure the laces stay flat and facing up and away from the tongue.
Step 3: Crisscross to the top
Weave the laces in and out of the other eyelets, crisscrossing as you go. The pattern should be in through the top of the eyelet, across the tongue, and then back in through the top of the eyelet on the other side. Make sure your laces are facing up as you work and keep consistent whether the lace coming from one side crosses over or under the lace coming from the other side.
Step 4: Tongue loop
Keep going until you get to the loop in the tongue (if your shoes have one). Our tip here is to skip the tongue loop entirely because your laces will look cleaner. If you don’t believe us, wait until the side-by-side comparison.
Step 5: Final eyelets
Keep going until you reach the final eyelets. But this time, instead of going through the top of the eyelet, go through the bottom, from inside to out on both sides.
Method 2: Comfort
Step 1: Start from scratch
First, remove the laces.
Step 2: Lace your sneakers
Lace your sneakers the exact way we laced the Air Force 1s, just a lot looser.
Step 3: Pro tip
If you lace them with your foot already in the sneaker, you’ll be able to gauge how tight they need to be so they don’t slip off. Pulling the sides of the sneaker apart as you go also helps create a looser fit while giving the laces a natural look.
Step 4: Finishing touches
Once at the final eyelets, you have several options. You can leave your laces hanging slightly out of the last eyelets. You can tie your laces together loosely for a little more structure and compactness. Or you can tie small knots into the ends of the laces so they hold in place and don't loosen.
Method 3: Performance
Step 1: Start from scratch
First, remove the laces.
Step 2: Lace your sneakers
Your shoes are laced as they normally would be, crisscrossing the laces until you reach the second eyelet from the top.
Step 3: Final eyelets
Once at the second eyelet from the top, instead of crossing over again, put the laces through the top eyelet on the same side, forming a loop.
Step 4: Tongue loop
While we skipped the tongue loop previously, you’ll want to put your laces through it this time as it holds the tongue in place as you run.
Step 5: Tighten the loop
Pull each lace end across and through the loop you just created on the opposite side of each shoe.
Step 6: Tie your laces
Finally, tie your laces as you would normally. _
For an in-depth guide, watch the full video below:
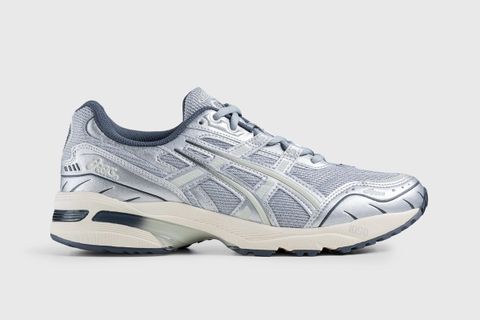
Shop our favorite sneakers
To stay updated on everything happening in the sneaker world, follow @Highsnobietysneakers on Instagram, check our sneaker release date calendar.
Meanwhile, check practice your lacing with some of the best Fall sneakers of 2022.


